Internal signatories
The Internal signatories sub-menu from the Sending parameters menu allows you to define users who are authorized to perform internal signature operations.
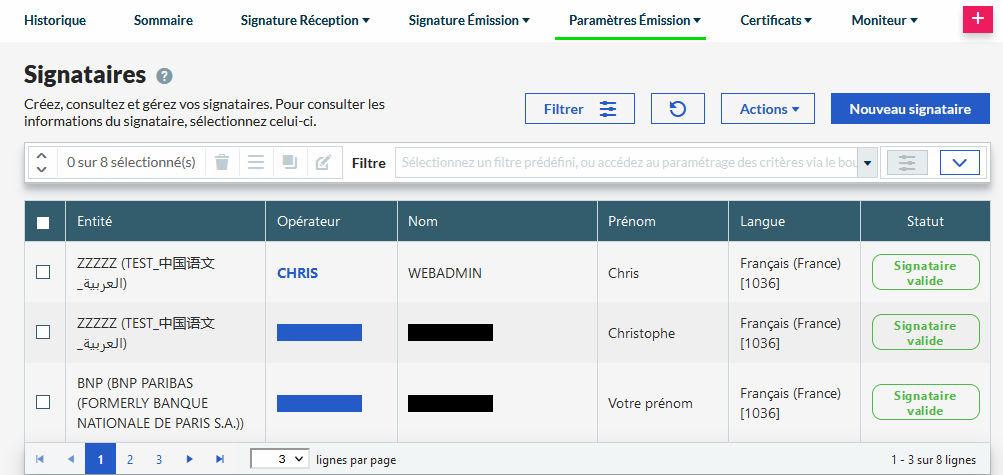
To create an internal signatory, click the New signatory button, or select Add signatory from the Sending parameters menu.
You must then specify an entity to associate with the signatory by selecting the corresponding option from the Entity drop-down list, and enter a name in the Operator field.
To view the details of a signatory or to modify it, click the corresponding line in the table.
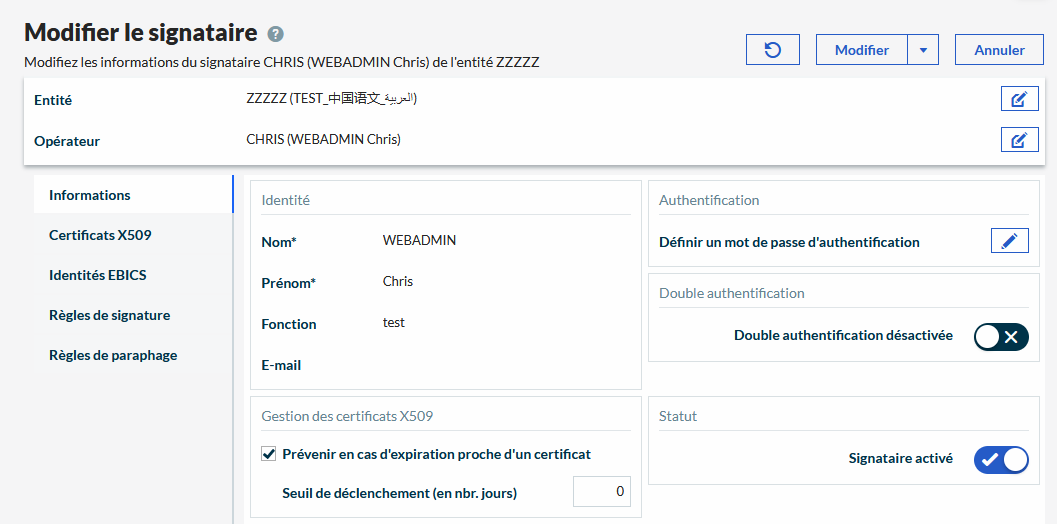
Information
The Information tab enables you to specify general data for the signatory, and define the password used for internal signature.
X509 Certificates
The X509 certificates tab is used to specify the different certificates associated with the signatory.
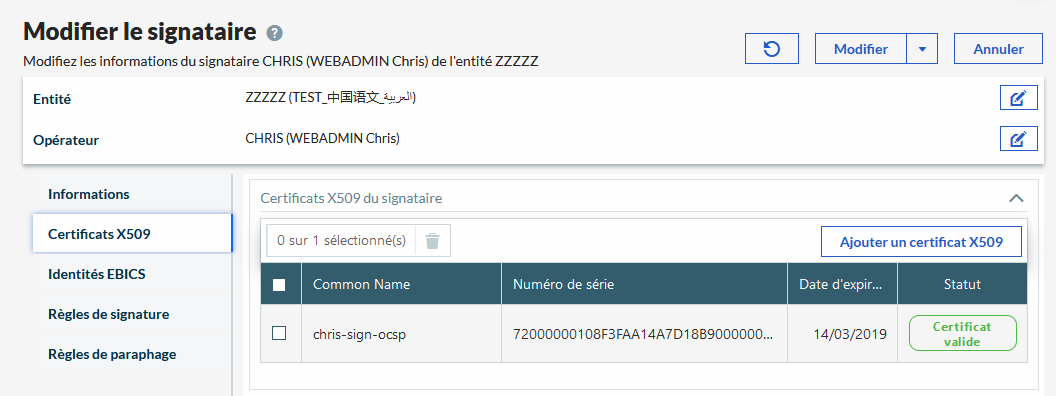
To assign new certificates to the signatory, click Add X509 certificate, enable the required certificates, then click Select.
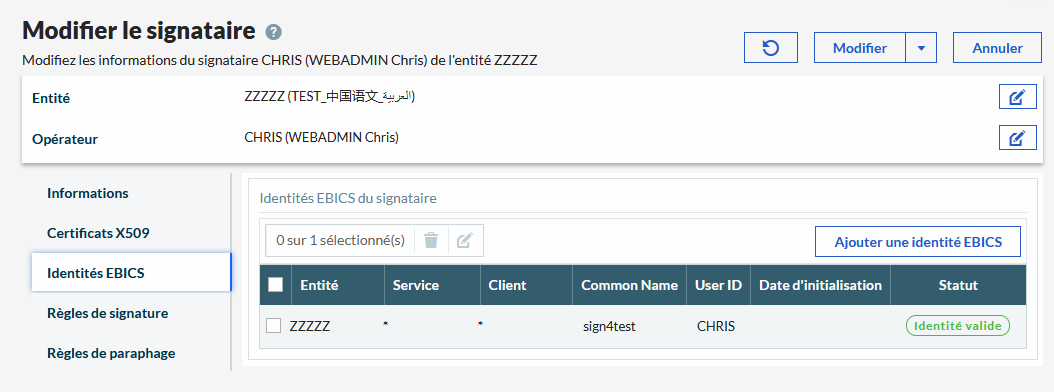
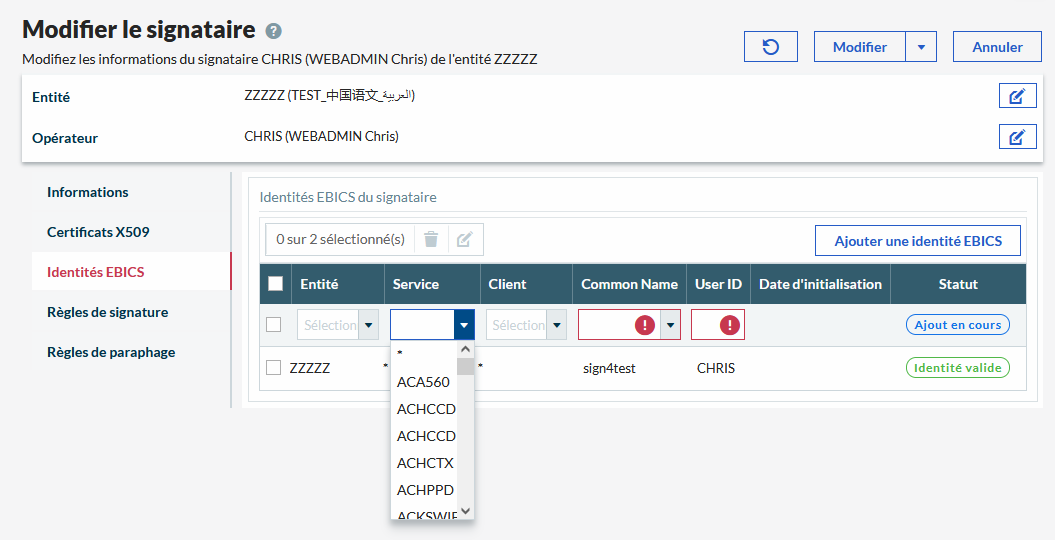
EBICS Identities
The EBICS identities tab allows you to specify EBICS identifiers and the corresponding certificates to be used for the signatory.
-
To attach an identity, click Add EBICS identity.
-
Select values in the Entity, Service and Client drop-down lists.
Info
You can create a common identity shared by all services and/or clients by selecting the "*" character in the corresponding drop-down lists.
-
Enter a code for the identity in the User ID column, then select a certificate in the Common Name drop-down list.
-
Click the Change button to save the new identity.
Signature rules
The Signature rules tab allows you to view and edit the signature rules to be applied to the signatory.
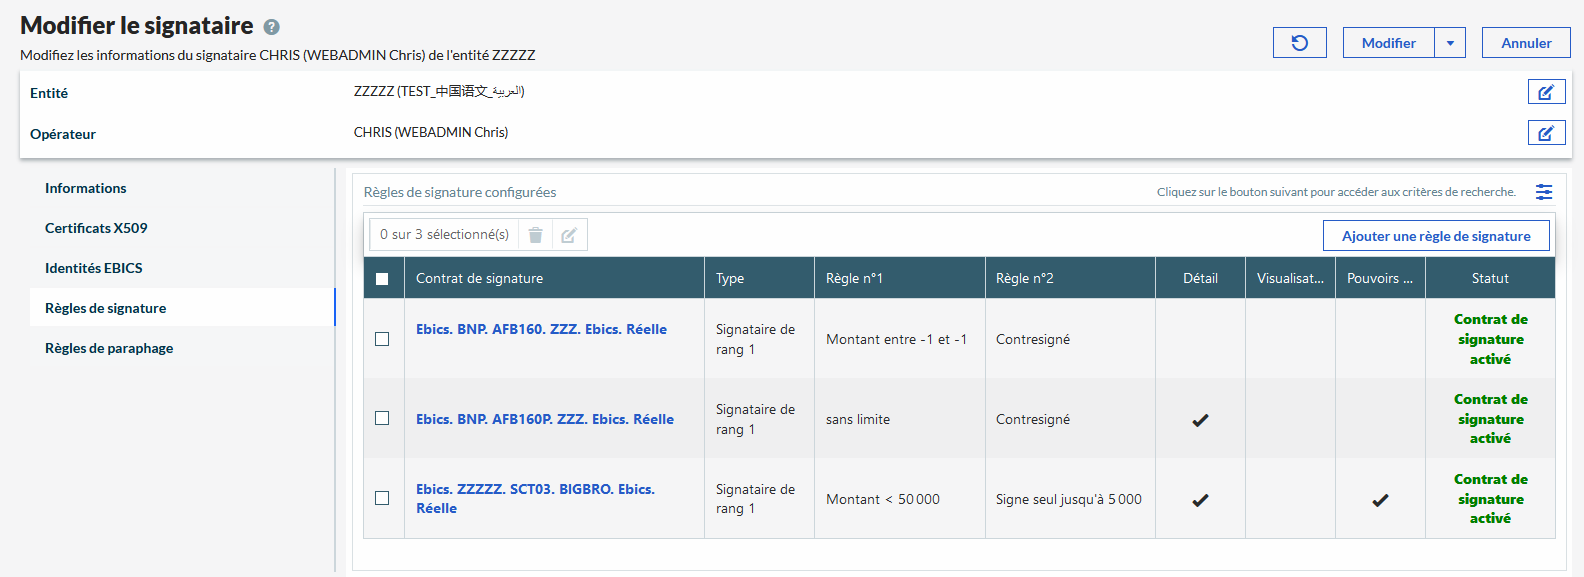
To attach a rule, click Add signature rule.
To view the details of a rule or to modify it, click the corresponding line in the table.
Initialing rules
The Initialing rules tab allows you to view and edit the initialing rules to be applied to the signatory.
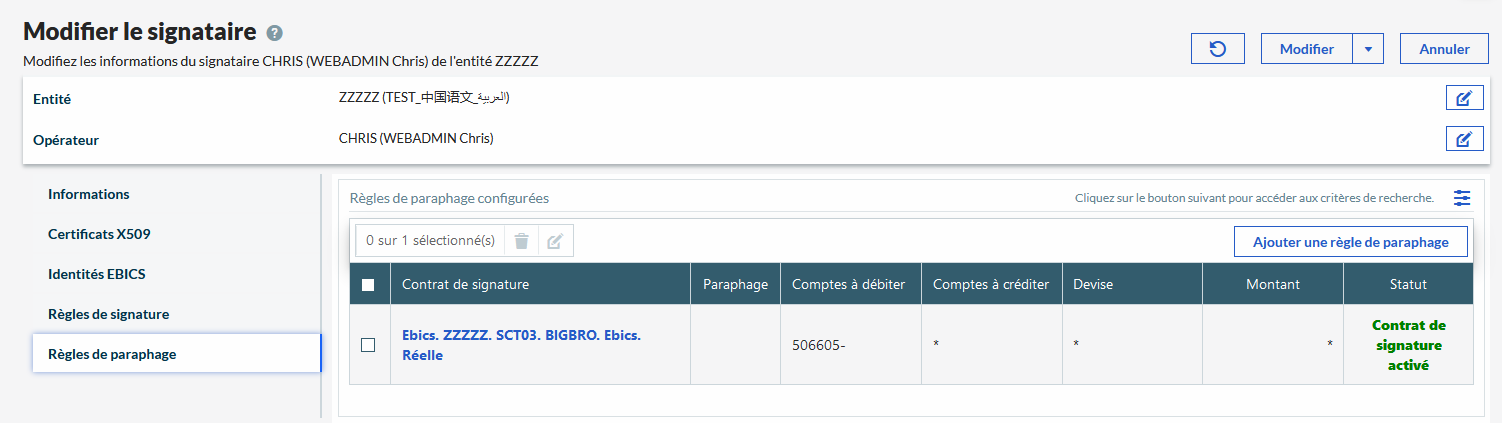
To attach a rule, click Add initialing rule.
To view the details of a rule or to modify it, click the corresponding line in the table.